Unleashing Dimensional Creativity: An In-Depth Guide to Creating Impressive 3D Pixel Art Images
In the digital age, the capability to create captivating and visually stunning images has become more accessible than ever. One genre that has garnered immense appreciation for its unique blend of simplicity, complexity, and immersive aesthetics is 3D pixel art. Utilizing computer graphics, this artistic medium combines traditional pixel art with three-dimensional space to yield breathtaking results. This article serves as a comprehensive guide on unleashing the potential of dimensional creativity through the creation of impressive 3D pixel art images.
Step 1: Choosing the Right Tools
The foundation of successful 3D pixel art creation lies in selecting the appropriate software for the job. Tools such as Blender, Tinkercad, and Google’s Poly Studio cater to a variety of skill levels and creative visions. Blender is particularly notable for its robust feature set, enabling users to blend modeling, texturing, and animation capabilities in a seamless workflow.
Step 2: Setting Your Scene
Before diving into character creation or scene building, it’s essential to establish a scene that sets the tone for your 3D pixel art piece. This step encompasses defining the spatial layout, colors, and the level of detail required. Remember, simplicity in structure and clarity in purpose lead to stronger visual impact.
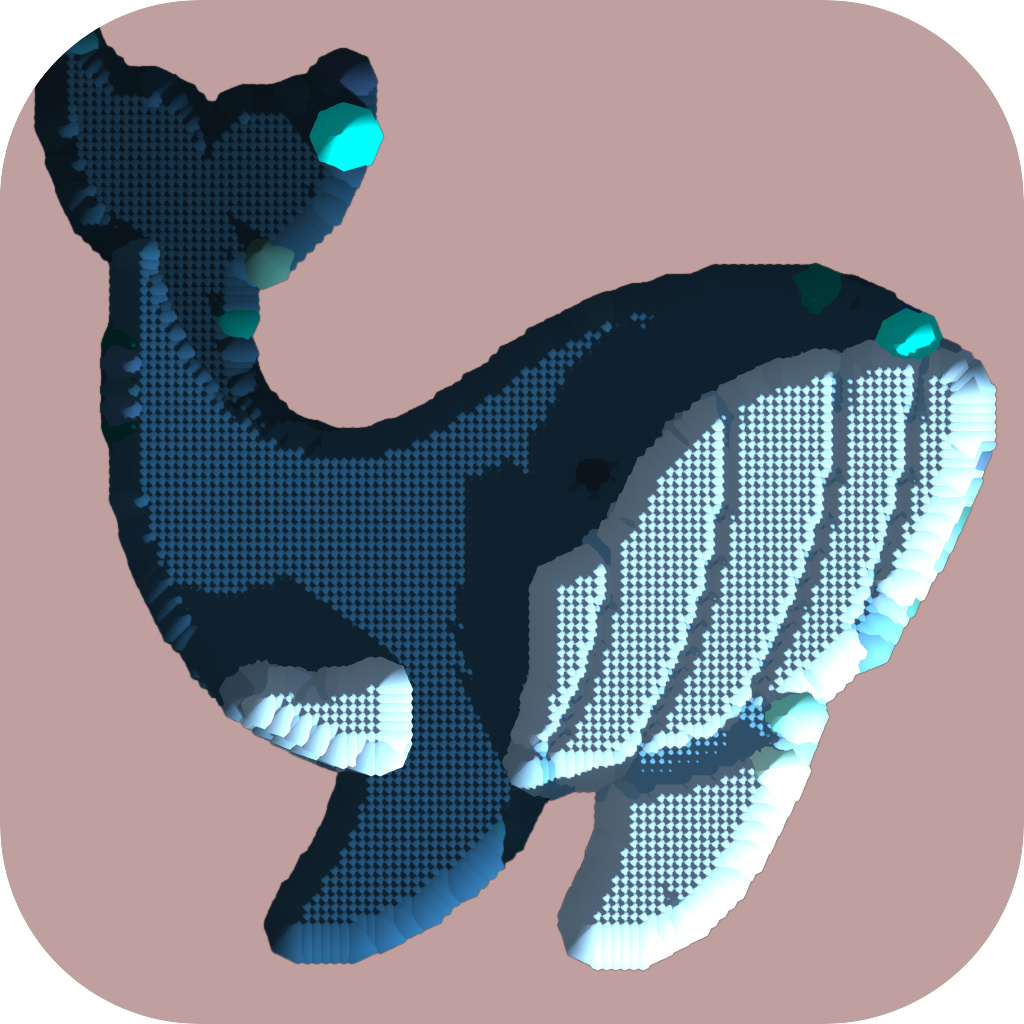
Step 3: Character and Scene Modeling
With your scene established, it’s time to model the characters or objects within it. For precise control and a pixelated aesthetic, consider using a polygon or mesh-based approach and then refining each element down to the pixel level. Techniques like baking textures from your 3D model onto a pixel grid can simplify this process, resulting in clean, high-resolution images.
Step 4: Texturing and Lighting
The texture and lighting of your project play crucial roles in establishing the environment’s mood and enhancing depth perception. Experimenting with layering, blending, and the usage of vibrant colors can bring your scenes to life. For a pixel art look, opt for contrasting colors and bold contrasts to captivate viewers.
Step 5: Animation (Optional)
A dynamic touch can set your 3D pixel art apart, making it come alive on screen. Even a subtle animation, such as a character blinking, a gear turning, or smoke drifting, can greatly elevate your work. However, be mindful not to overwhelm the audience or detract from the overall message of your artwork.
Step 6: Performance Optimization
As you refine your 3D pixel art, ensure it’s optimized for display speed and resolution. This involves monitoring the textures and models for unnecessary complexity, which could hinder performance on different devices. Aim for a balance that preserves detail without sacrificing responsiveness.
Step 7: Sharing Your Masterpiece
Once completed, share your 3D pixel art creation on platforms catered to visual artists, such as Artstation, DeviantArt, or even social media like Instagram or TikTok, depending on your target audience. This process not only helps garner feedback but also brings your work to the attention of fellow artists and enthusiasts.
In conclusion, unleashing dimensional creativity in the realm of 3D pixel art is about combining visual techniques, digital tools, and a creative vision to produce extraordinary images. Whether for storytelling, branding, or simply artistic expression, the possibilities are vast, offering endless opportunities to innovate and captivate. With practice and creativity, your journey towards becoming a master of 3D pixel art images will be both exciting and fulfilling.